
I have been wanting this one for a long time – something simple and not too voluminous to carry my bolster and some accessories around.
There are some lovely designs out there, and small bolster can even be made to fit a backpack! But alas Cantù bolster, with their 24-25cm diameter, aren’t quite suited to that.
Since this is not a new problem, unsurprisingly there is a very effective solution: a rectangle of fabric that wraps around the pillow, with handles. It doubles up as cloth to put on the trestle for working, though since you want some kind of attrition on the trestle to hold the pillow still, while some leave the bag on the trestle and use the “tapparella” over it, others prefer to remove it. You can see the typical setup when transporting pillow and work in the two videos below (click on the picture to access the videos). In the first one, setup is in the first few minutes – in first view you have the simplest of bags:
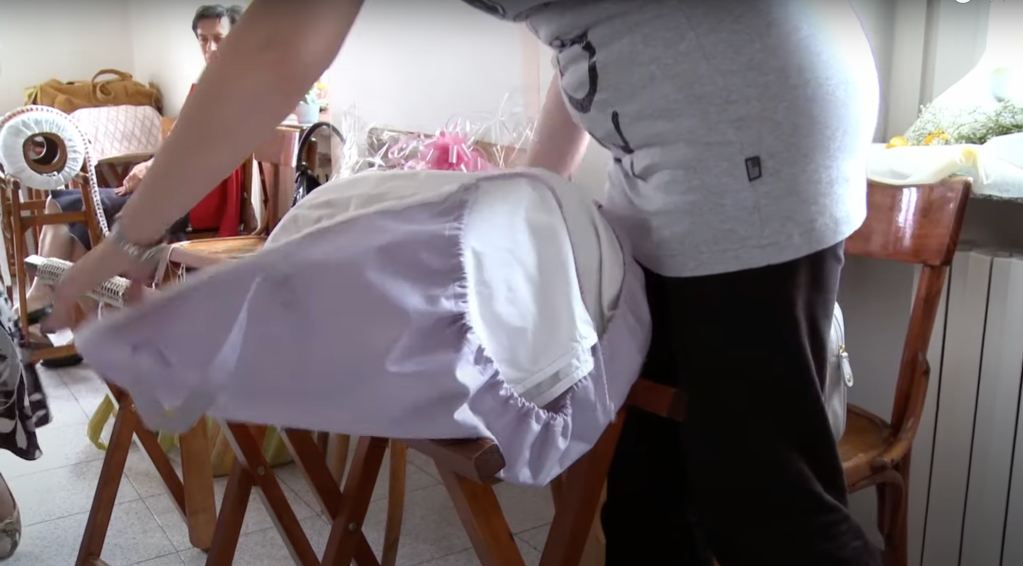
In this other video (again, click on the picture to watch it) you have more elaborate bags (you have to skip to minute 8:45 to see one setup in full view, at the beginning of the video there is one lacemaker with the bag on the trestle, but is mostly covered by the two people speaking in the foreground). From minute 8:45 on you can see three ladies with three different styles of bags, some have strings to attach the various flaps of the opened bag to the trestle.

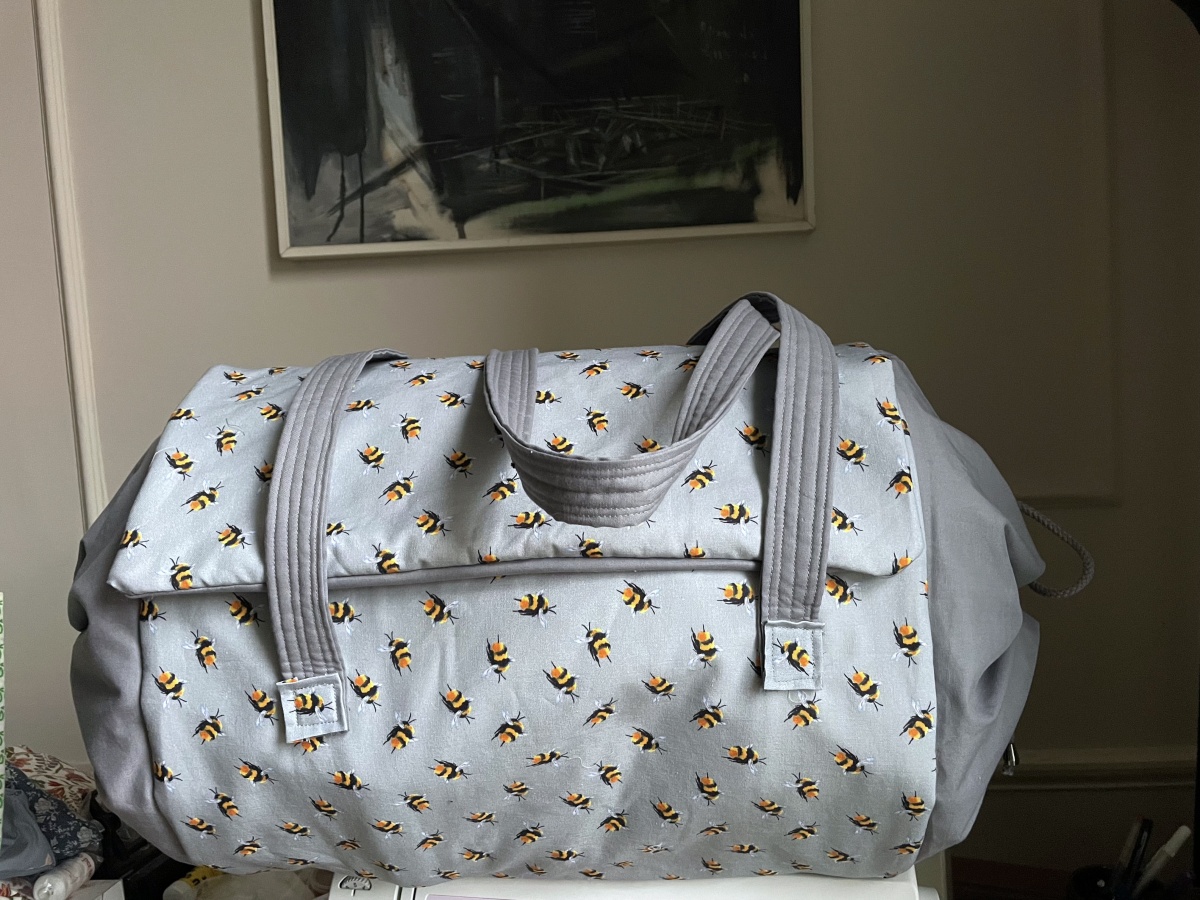
In short, to discharge its basic function, a simple rectangle of fabric with string cords at the ends would do – still, if you have to carry it for longer stretches, and/or you wish to protect your work, or “just because”, why not make a more elaborate one, and maybe add space and pockets for bits and pieces?
I have seen some really nice examples of handmade bags, which I took inspiration from to sew up mine, especially here and here
I used the following:
- cotton batting (or wadding, or padding – same thing)
- very light fabric to sandwich the batting as I did not want to quilt the bag. So I took some ivory cotton popeline to fix/trap the batting;
- a printed fabric and a matching plain colour fabric – both quilting cotton;
- some cord.
- All of the above (fabric, batting, cord) used are 100% cotton.
The design is really simple – I cut:
- five identical rectangles of batting (x1), printed fabric (x1), plain fabric (x1), popeline (x2) for the main body of the bag. These measured 118cm by 44.5cm (I was aiming to be able to accommodate a bolster up to 40cm wide).
- two lined pockets to fix to the inside body
- four identical rectangles for the drawstring sides, in printed (x2) and plain (x2) fabric; these measured 99cm by 20cm.
- two strips of batting for the handles, and corresponding plain fabric strips (twice the width of the batting, and same length – my batting was 3cm wide, thence he fabric was 12cm wide), 120cm long (to obtain a 115cm finished strap).

For assembly, I followed these steps:
- sandwich the batting between the poplin strips;
- made the pockets and sew them on the plain fabric lining;
- made the drawstring sides (sew three sides with right side facing, then turn inside out, making sure you leave about 1cm opening on the short sides, just below the long side, for the cord to go through);
- made the handles and fixed them to the outer, printed fabric and the quilted padding (so the stitches won’t show in the internal lining). Obviously the fabric must lie with the right side up, and sit on top of the padding
- stitched through both long sides and a short side of following layers (from bottom to top): quilted padding, side panels, printed/outer fabric (right side up), plain/lining fabric (wrong side up).
- turn inside out (or rather, “outside in’), hand stitch the short side, pull the cords, and it is done.


